

Create your FSA ID first
Start your FAFSA Guide by setting up your FSA ID. The Federal Student Aid ID acts as your digital signature for the entire financial aid process. You cannot complete the Free Application for Federal Student Aid without it. Both the student and any contributing parents need their own separate FSA IDs to sign the form electronically.
The most common bottleneck in the application timeline is the activation period. When you create a new FSA ID, it does not work immediately. The system requires up to three business days to verify your identity and activate the account. If you wait until the day before the deadline to create your ID, you will miss the window. Plan this step at least a week before you intend to submit the FAFSA form.
You will need a valid email address and a Social Security Number to register. If you are under 13, a parent must create the account. Keep your username and password in a secure place. Once activated, you can use these credentials to log in, sign, and track your application status throughout the year.
Gather tax and income documents
Before you start filling out the FAFSA, set aside time to collect the right paperwork. Having these items ready prevents errors and keeps the process moving. The FAFSA Guide makes this step straightforward when you know exactly what to look for.
For the 2026-27 application, you will need your Social Security number (or Alien Registration number if you are not a U.S. citizen). You also need your federal income tax returns, W-2s, and any other records of money earned. If you are a dependent student, your parents must provide the same documents for their tax history. Keep bank statements and records of untaxed income, such as child support or interest, nearby as well.

You do not have to type all this data manually. The FAFSA uses the Direct Data Exchange (DDX) to pull IRS tax information directly into your form. This feature lets you authorize the transfer of data between the IRS and the Department of Education. It reduces the chance of typos and speeds up the application significantly. If you prefer to enter data yourself, you can download a PDF of your tax return from the IRS website and type the figures in by hand.
Fill out student personal details
The "Student Personal Circumstances" section is the first major hurdle in your FAFSA Guide. It determines how much of the form you need to complete. The answers here decide whether you must provide parent financial information.
1. Log in and start the section
Begin by signing in to StudentAid.gov with your FSA ID. Once you reach the Student Personal Circumstances section, read the instructions carefully. This section asks about your basic identity and legal status. You will need your Social Security number ready.
2. Verify your dependency status
Dependency status is the most important question in this section. The FAFSA uses it to decide if your parents' income and assets count toward your aid. You are considered an independent student if you meet at least one of the following criteria:
- You are 24 years of age or older by the end of the year.
- You are currently married or separated but not divorced.
- You have dependents other than a spouse who receive more than half of their support from you.
- You are an orphan, ward of the court, or were a dependent/ward at age 13 or older.
- You are currently serving on active duty in the U.S. Armed Forces.
- You are a veteran of the U.S. Armed Forces.
- You are currently or will be enrolled in a master's or doctorate program.
If you do not meet any of these criteria, you are a dependent student. You must include your parents' financial information on the form. If you believe you have an unusual circumstance that makes you independent, you may request a dependency override from your financial aid office, but this is rare and requires documentation.
3. Enter your citizenship and immigration details
Your citizenship status determines which types of aid you are eligible for. Only U.S. citizens and eligible noncitizens can receive federal student aid. You will need your Alien Registration Number (if applicable) and proof of eligible status.
If you are a U.S. citizen, select "U.S. Citizen." If you are an eligible noncitizen, select that option and have your documents ready. This includes permanent residents (green card holders) and individuals with an arrival-departure record (I-94) showing certain statuses like refugee, asylum grant, or parolee. If you are not a U.S. citizen or eligible noncitizen, you generally cannot receive federal aid, though some states or schools may offer institutional aid.
Completing this section accurately prevents delays. If you enter incorrect dependency information, your aid offer could be adjusted or canceled later. Once this section is done, you can move on to the demographic and residency questions.
Enter financial aid information
Now that you have navigated to the financial aid section of your FAFSA Guide, you must input your family’s financial data. This section determines your eligibility for grants, work-study, and loans. You can enter these numbers manually or use the IRS Data Delivery System (DDX) to pull the data directly from your tax records.
Choosing the right method depends on your comfort level with technology and the accuracy of your records. If you choose manual entry, double-check every digit. If you use DDX, ensure your IRS account is ready and that you have the correct consent codes. Accuracy here is essential because errors can delay your aid offer or reduce the amount you receive.
Choose your data entry method
You have two primary options for entering financial data:
- Manual Entry: You type in the numbers from your tax returns. This gives you full control but requires careful attention to detail.
- IRS DDX: This tool transfers data directly from the IRS. It is faster and reduces the chance of typos, but it requires an IRS Online Account or specific consent codes.
Input your financial details
Whether you use DDX or type manually, you will need to provide:
- Adjusted Gross Income (AGI): The total income minus adjustments.
- Taxes Paid: The amount of federal income tax you paid.
- Untaxed Income: This includes child support received, veterans benefits, and other non-taxable sources.
Review and verify
Before moving to the next section, review all entered data. Look for common mistakes like transposed numbers or missed income sources. If you used DDX, compare the transferred data against your actual tax return to ensure nothing was skipped. Once verified, save your progress and proceed to the school selection section.
Review and sign the FAFSA application
Before you hit submit, treat the review page as your final checkpoint. This is where you catch typos, verify tax years, and ensure every contributor has applied their electronic signature. Skipping this step often leads to processing delays or requests for corrections later.
Check your details
Scroll through every section of your FAFSA Guide entry. Confirm that your name matches your Social Security card exactly. Verify that you selected the correct tax year for income data. If you are a dependent student, ensure your parent’s information is complete and accurate. Errors here are the most common reason for application rejections.
Apply signatures
Both the student and the required parent contributor must sign. Without these digital signatures, your application remains incomplete and will not be processed. The system will prompt you to sign electronically using your FSA ID. Make sure both parties are available to complete this step before you proceed.
Submit and confirm
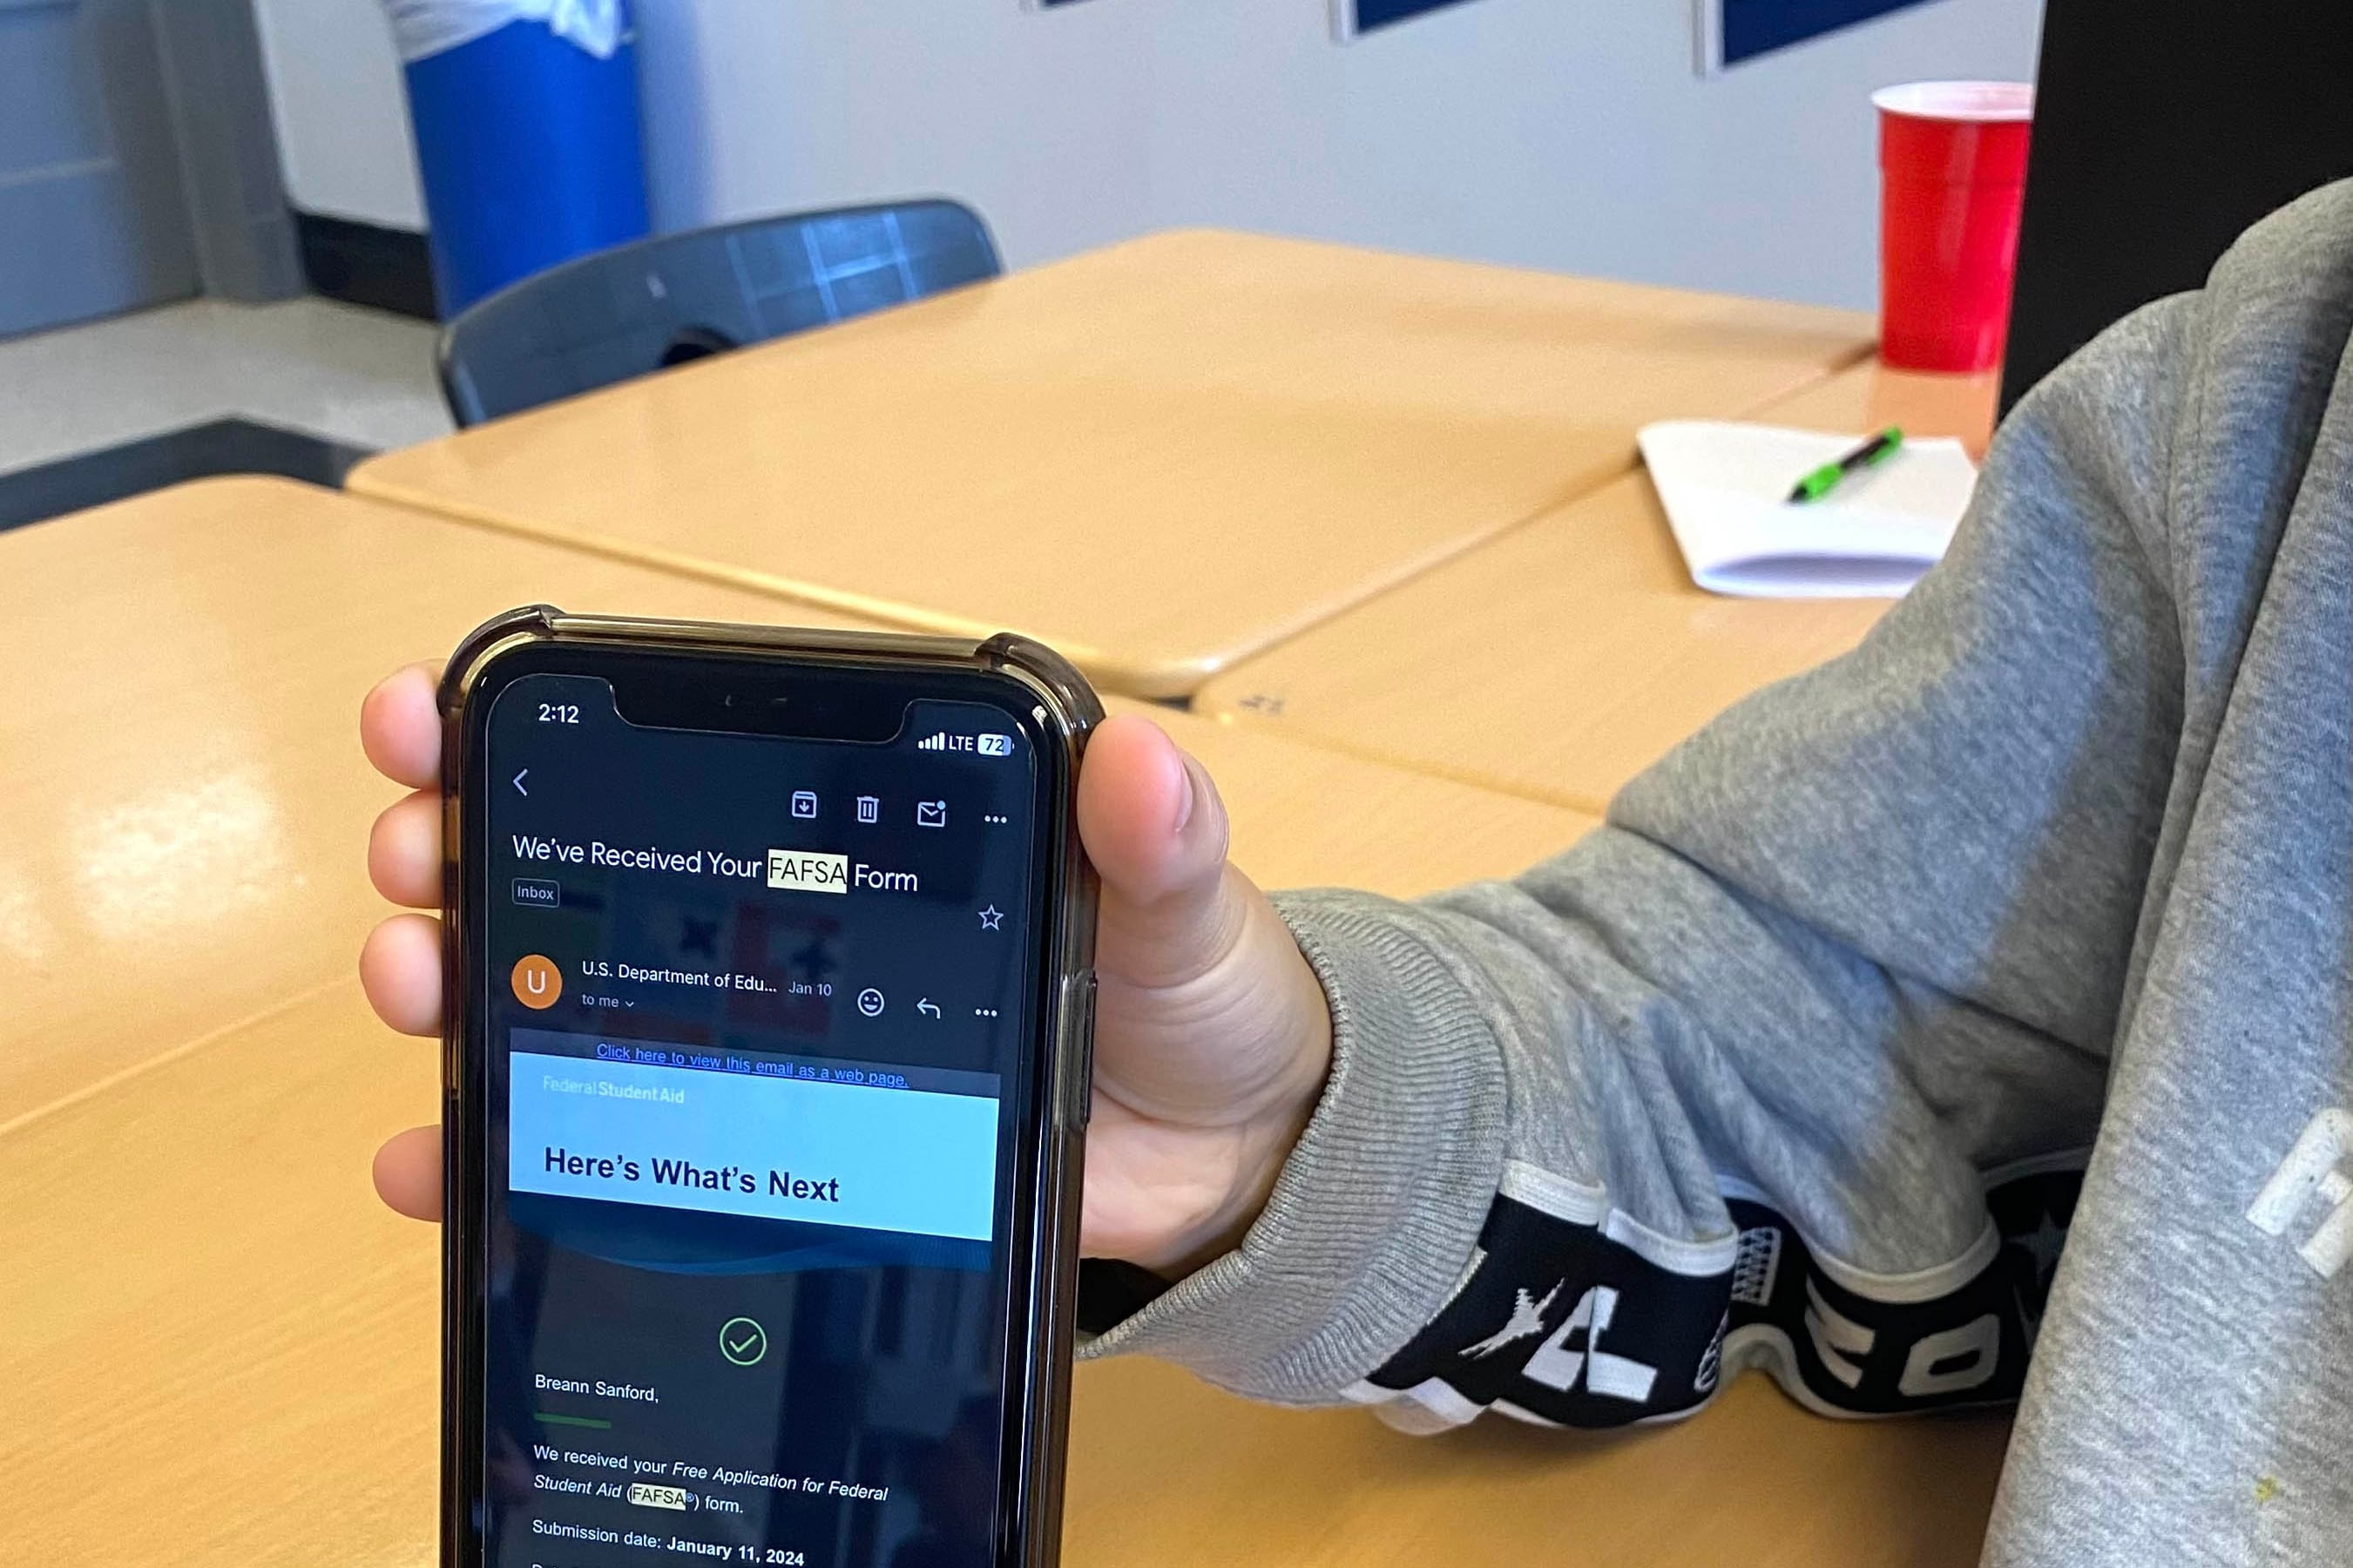
Click "Submit" to send your FAFSA to the Department of Education. You will receive a confirmation screen with your Submission Date and a Student Aid Index (SAI) preview if available. Save or print this confirmation page for your records. You will also receive an email confirmation shortly after.
Pre-submission checklist
-
Verify all names match Social Security records
-
Confirm tax years and income data are correct
-
Ensure both student and parent signatures are applied
-
Save the submission confirmation page
Scroll through every section to catch typos or incorrect data. Verify that your name matches your Social Security card exactly and that the correct tax year is selected. Errors here are the most common reason for application rejections.
Both the student and the required parent contributor must sign electronically using their FSA IDs. Without these digital signatures, your application remains incomplete and will not be processed by the Department of Education.
Click "Submit" to send your FAFSA. You will receive a confirmation screen with your Submission Date and a Student Aid Index (SAI) preview. Save or print this page for your records and check your email for a confirmation receipt.
Check your SAR and fix errors
After you submit the FAFSA, the Department of Education processes your data and sends you a Student Aid Report (SAR). This document is your proof of submission and the foundation for your financial aid package. You must review it carefully to ensure the information matches your actual financial situation.
Review the Student Aid Index (SAI)
The SAR calculates your Student Aid Index (SAI), a number used by colleges to determine your eligibility for federal aid. The SAI replaced the Expected Family Contribution (EFC) for the 2024-25 FAFSA cycle and remains the standard for 2026-27. Your SAI ranges from -1500 to 9999. A lower number generally indicates greater financial need.
When you receive your SAR, locate the SAI value on the first page. If the number seems unusually high or low given your income, it likely reflects an error in the data you entered. Colleges will use this SAI to build your aid offer, so accuracy is essential.
Correct mistakes on the SAR
If you spot errors in your name, Social Security number, school codes, or financial figures, you cannot simply edit the SAR itself. You must log back into the FAFSA form and make corrections. The SAR will be updated automatically within a few days.
If your SAE (Student Aid Index) is incorrect due to data entry mistakes, fixing those entries will recalculate your SAI. For complex issues, such as disputes over dependency status or special circumstances, contact the financial aid office at your prospective colleges directly. They can help adjust your aid package based on your corrected FAFSA data.
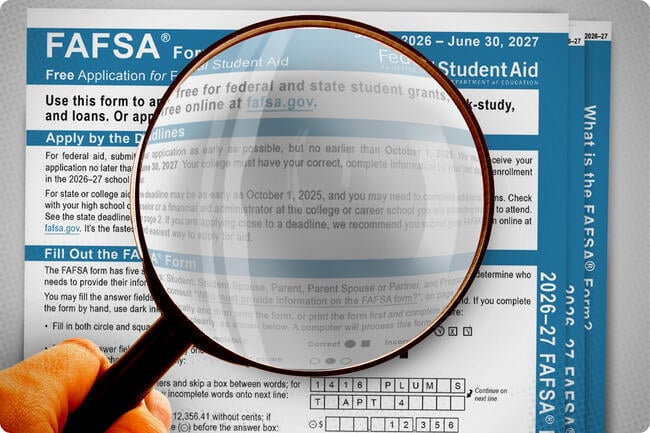
Wait for the SAR to arrive in your email inbox. The Department of Education typically sends it within three to five days if you filed electronically. If you filed a paper form, it may take up to three weeks.
Open the SAR and compare every field to your original application. Verify your name, SSN, and the schools you listed. Check that your income and asset figures match your tax returns or current financial records.
If you find mistakes, log into your FAFSA account at studentaid.gov. Select "Make Corrections" and update the incorrect fields. Save your changes and wait for the updated SAR to confirm the fix.
Common FAFSA mistakes to avoid
Even small errors can delay your aid or reduce your eligibility. Review these high-impact pitfalls before you submit your FAFSA Guide application for 2026-27.
Mismatched names and Social Security numbers
The name on your FAFSA must match your Social Security card exactly. Nicknames, middle names, or missing suffixes can trigger identity verification delays. Parents should also ensure their names match their SSNs to avoid dependency verification issues.
Using the wrong tax year
Filing for the 2026-27 academic year requires your 2024 federal tax information. Using prior-prior-year data incorrectly or estimating numbers instead of pulling from your actual tax return is a common error. Use the IRS Data Retrieval Tool to import data directly and minimize manual entry mistakes.
Missing parent signatures
For dependent students, a parent must sign the FAFSA using their FSA ID. If a parent cannot or will not sign, the application remains incomplete. Single-parent households must ensure the custodial parent (the one you lived with more in the last 12 months) provides the signature.
Double-check that your legal name and Social Security number match your government-issued ID exactly.
Use the FSA ID to sign and submit your application. Ensure the correct tax year is selected.
Ask your parent(s) to log in with their own FSA ID to sign the form promptly.
Frequently asked: what to check next
Here are answers to the most common questions about the FAFSA Guide process for the 2026-27 school year.
No comments yet. Be the first to share your thoughts!