

Get your FSA ID ready
Before you open the FAFSA form for the 2026-27 academic year, you need a Federal Student Aid (FSA) ID. This username and password combination serves as your legal electronic signature. Without it, you cannot access the application, nor can you submit it.
Think of the FSA ID as your digital passport for federal student aid. It verifies your identity to the U.S. Department of Education. If you try to start the FAFSA without one, the system will block you at the gate. Creating it is not instantaneous, so do not wait until the night before the deadline.
If you are a dependent student, your parents must also have their own FSA IDs. They cannot use yours, and you cannot use theirs. Each adult needs a separate account to sign their portion of the form. This requirement often catches families off guard, causing delays that push submission past the cutoff date.
To prepare, visit StudentAid.gov and create your account at least a few days in advance. You will need a valid email address and a Social Security Number. If you do not have an email, you can use a parent’s, but you must have access to it to verify the account. For parents, the process is identical but requires their own distinct credentials.

Enter your personal and demographic details
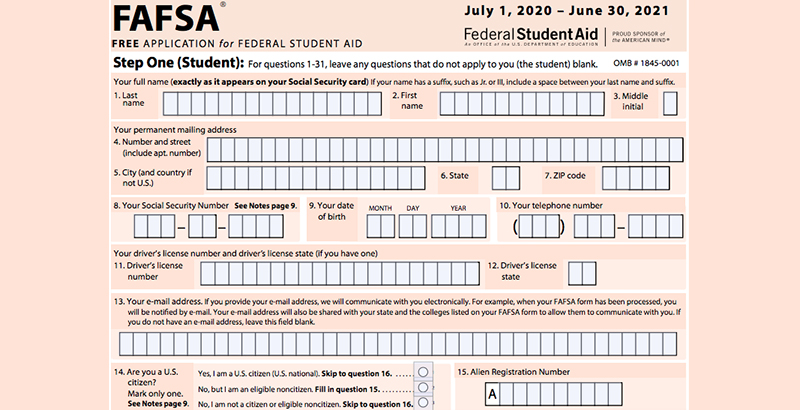
Start the FAFSA by completing the Student Personal Circumstances section. This is the foundation of your application; errors here can delay your aid package or cause identity verification failures. You will need your Social Security Number (SSN) or Alien Registration Number (if not a U.S. citizen) and your date of birth ready.
Begin by entering your full legal name exactly as it appears on your government-issued ID. Do not use nicknames or middle initials unless they are on your SSN card. Next, input your SSN carefully. The system validates this number against federal records in real-time. If you have a typo, the application will likely reject your submission immediately. For students without an SSN, you must provide your Alien Registration Number.
After the identification fields, you will select your date of birth. Ensure the format matches the prompt (usually MM/DD/YYYY). Following this, you will be asked for your current mailing address and cell phone number. The Department of Education uses your cell phone for two-factor authentication during the signing process, so use a number you check frequently.
The form also asks for your citizenship status. If you are a U.S. citizen, select "U.S. Citizen." If you are an eligible non-citizen, you will need your Alien Registration Number and proof of eligibility, such as a Card of Arrival (I-551) or an Arrival-Departure Record (I-94). Incorrect citizenship selection is a common reason for FAFSA processing delays.
Type your Social Security Number exactly as issued. Double-check for transposed digits. If you do not have an SSN, enter your Alien Registration Number.
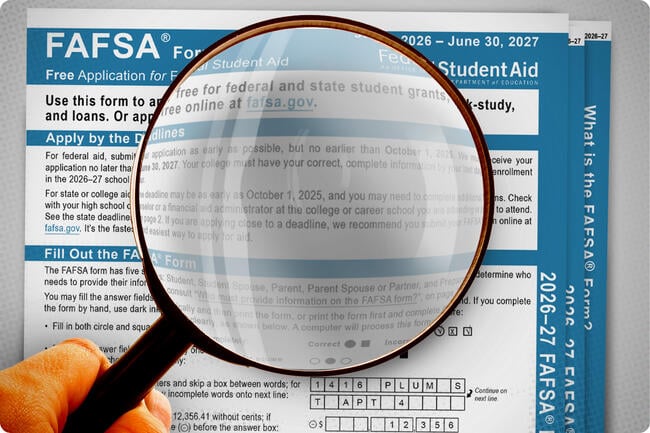
Match your name to your government ID. Enter your date of birth in the required MM/DD/YYYY format. These details must match your FSA ID.
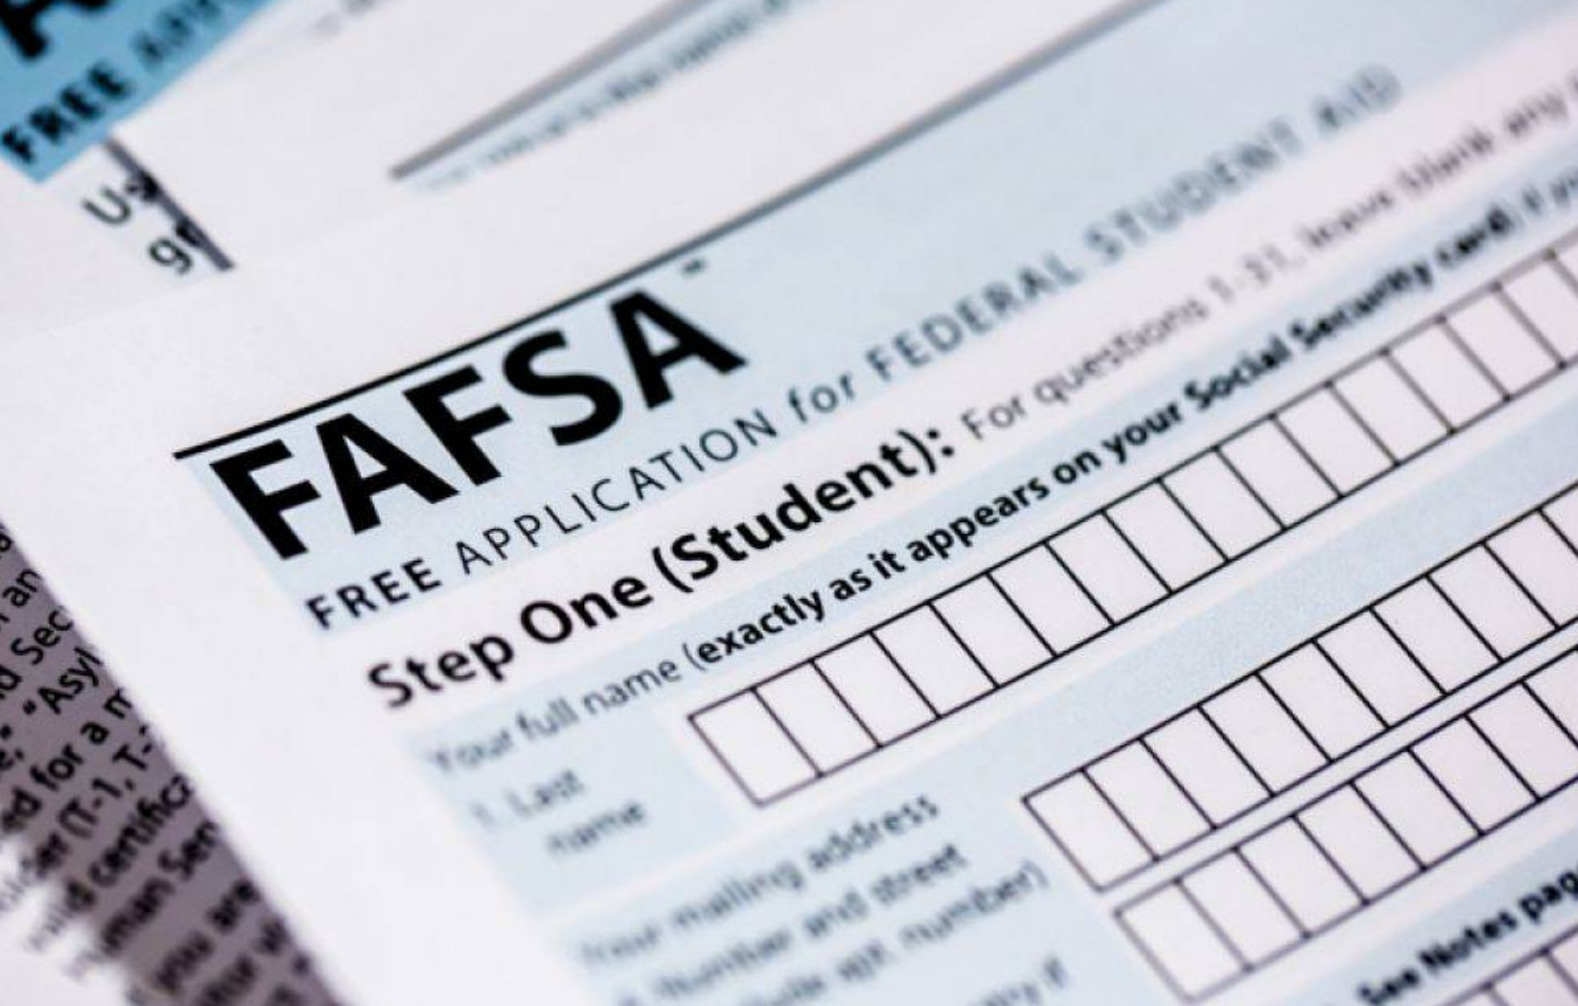
Enter your current mailing address and a cell phone number for authentication. Select your correct citizenship status to ensure federal aid eligibility.
Once these fields are complete, review them for accuracy. A single digit error in your SSN or a mismatched name can trigger an identity verification hold that takes weeks to resolve. Proceed to the next section only after confirming these details are correct.
Enter financial information
The financial section of your FAFSA Guide is where most errors happen. The Department of Education has streamlined this part by introducing the IRS Direct Data Exchange (DDX). Instead of manually typing every line from your tax return, you can pull the data directly from the IRS. This method is faster and significantly reduces the chance of typos that could delay your aid.
After completing your personal demographics, the form will guide you to the financial data entry. Look for the section labeled "Financial Information." If you are a dependent student, you will need to provide both your parents' and your own financial details. The system will clearly indicate which fields require input and which are auto-populated.
When prompted for tax information, choose the option to "Import from IRS" or "Use the IRS Data Retrieval Tool." You will be redirected to a secure IRS portal to log in. This tool transfers your Adjusted Gross Income (AGI), taxes paid, and income earned from work directly into your FAFSA. This is the most accurate way to report your finances, as it eliminates manual entry errors entirely.
Once the data transfers, you will return to the FAFSA form to review the numbers. Do not assume the transfer was perfect. Check that the AGI and tax filing status match your actual IRS return. If any fields are missing or look incorrect, you can manually edit them, but be prepared to provide documentation if selected for verification.
After verifying all financial entries, proceed to the signature and submission page. Your data retrieval status will update to "Imported" or "Validated" within 24-48 hours. Keep this confirmation page visible until you receive your Student Aid Index (SAI) from the Department of Education.
If you cannot use the DDX due to specific tax circumstances or lack of an IRS account, you will need to manually enter your tax data from the 2024 Form 1040. Be precise. Even a single digit error can trigger a verification hold, delaying your financial aid offer. For more detailed instructions on each section, refer to the official StudentAid.gov steps guide.
List your colleges correctly
This is the most common reason applications stall. FAFSA data does not auto-sync to colleges. You must manually enter each school’s federal code to trigger the report delivery.
Think of the school list as a mailing address. If you leave a blank line, the letter never arrives. The Department of Education will not guess which universities you want to see your financial information.
How to add schools
- Navigate to the "Schools" section of the form.
- Type the name of the college or university.
- Select the correct match from the dropdown list.
- Click "Add School" to save the federal code.
You can list up to twenty schools. Include every institution you are considering, even if it is a reach or safety school. Adding a school does not obligate you to attend; it only allows them to build your financial aid offer.
If you forget a school, you can add it later. Log back into your FSA ID account, navigate to the "Schools" section, and enter the missing code. However, this delays the processing time. Schools receive your data in the order they are listed or added. Early submission ensures early review.
Always double-check the spelling. A typo in the school name may link you to the wrong institution or fail to link at all. Use the official Federal School Code Search tool on studentaid.gov to verify the eight-digit code for each college. This small step prevents months of administrative back-and-forth later.
Sign and submit the FAFSA form
The final step in your FAFSA Guide is to review, sign, and submit the form. This is the moment where your application becomes official. Without a valid signature, the Department of Education cannot process your data or award aid. You must complete this step carefully to avoid delays in your financial aid package.
Step 1: Review your information
Before signing, scroll through every section of your FAFSA form. Check for any red flags or missing data. The system will highlight any required fields or errors that prevent submission. If you see warnings, click the linked sections to fix them. A clean form submits faster and reduces the chance of a request for corrections later.
Step 2: Student electronic signature
The student must sign the form electronically. You can use your FSA ID to sign directly in the browser. This acts as your legal signature, certifying that the information you provided is true and correct. If you do not have an FSA ID, you must create one before you can proceed. This step is mandatory for all students, regardless of age.
Step 3: Parent electronic signature (if dependent)
If you are a dependent student, your parent must also sign. They will receive an email with a unique link to access their portion of the form. They need their own FSA ID to sign electronically. If they cannot sign online, they can print, sign, and mail a paper signature page, but this adds weeks to your processing time. Coordinate with your parent early to avoid last-minute delays.
Step 4: Submit the form
Once all required signatures are in place, click the "Submit" button at the bottom of the form. You will receive a confirmation screen and an email with your FAFSA submission date. Save this confirmation for your records. You can check the status of your application by logging back into StudentAid.gov.
Check every section for red flags or missing data. Fix any warnings before proceeding to signature.
Use your FSA ID to provide your legal electronic signature. This is required for all students.
Dependent students must have a parent sign. The parent receives a unique link via email.
Click submit to send your application. Save the confirmation page and watch for your SAID.
Check your SAR for errors
Once you submit the FAFSA, the Department of Education generates a Student Aid Report (SAR). This document summarizes the data you entered and calculates your Student Aid Index (SAI). Before colleges begin processing your financial aid offer, you must verify that the SAR is accurate. Even small mistakes can delay your aid or reduce the amount you receive.
1. Verify personal information
Start by checking your name, Social Security Number (SSN), and date of birth. These identifiers link your application to your federal tax records and eligibility. Ensure your name matches your government-issued ID exactly. If you have legally changed your name since filing, update it with the FAFSA system immediately.

2. Cross-reference financial data
The SAR pulls information directly from your IRS tax data if you used the Data Retrieval Tool (DRT). Compare the income and tax figures in the SAR against your actual tax return. If you did not use the DRT, manually check every field for typos. Common errors include transposed digits in income or missed deductions.
3. Correct mistakes immediately
If you find an error, do not wait. Log back into your FAFSA account and make the necessary corrections. The system will generate a new SAR reflecting the changes. This updated report is what colleges will use to determine your aid package. Errors in your SAI calculation can significantly impact your eligibility for grants and subsidized loans.
Checklist for SAR verification
Before moving forward, confirm these items are correct:
-
Name matches government ID
-
Social Security Number is accurate
-
All intended colleges are listed with correct codes
-
Student and parent signatures are present and dated
-
Income and tax figures match your tax return
If your SAR looks accurate, you can move on to reviewing your financial aid offers from each college. Keep the SAR for your records as proof of your application status.
FAFSA and loan FAQs
These questions address the most common points of confusion when completing the Free Application for Federal Student Aid for the 2026-27 school year.
Do parents who make $120,000 still qualify for FAFSA?
Yes. There is no official income limit to fill out the FAFSA. Whether you qualify for aid depends on your household size, the number of family members in college, and other financial factors. Families earning six figures can still receive federal grants, work-study, or subsidized loans depending on their specific financial situation.
What are the biggest FAFSA mistakes to avoid?
Common errors include missing state or school-specific deadlines, leaving fields blank when they should be zero, and entering incorrect tax information. Always double-check your Social Security numbers and FSA IDs before submitting. You can review your submission for errors using the FAFSA on the Web (FSAW) system before finalizing your application.
How does FAFSA work for dummies?
The FAFSA collects data about your family’s financial strength to determine your eligibility for federal student aid. The Department of Education uses this information to calculate your Student Aid Index (SAI), which schools use to build your financial aid package. This package may include grants, scholarships, work-study, and federal student loans.
What qualifies you for FAFSA money?
Basic eligibility includes being a U.S. citizen or eligible noncitizen, having a valid Social Security number, and maintaining satisfactory academic progress. You must also be enrolled or accepted in an eligible degree or certificate program. Meeting these criteria allows you to access federal aid, though specific award amounts depend on your financial need and the school you attend.
No comments yet. Be the first to share your thoughts!