
Create your FSA ID first
Your FSA ID is your digital signature for the federal student aid system. It acts as your unique login for StudentAid.gov and allows you to sign the FAFSA form electronically. Without it, you cannot submit your application. You must create separate FSA IDs for the student and any parent who will be providing financial information on the form.
Start this process immediately. The activation of a new FSA ID is not instant. The Federal Student Aid office requires up to three business days to verify your identity and activate your account. If you wait until the last minute, you risk missing application deadlines or facing delays in processing your aid offer.
Navigate to the official Federal Student Aid website at StudentAid.gov. Look for the "Sign In" button in the top right corner and select "Create an FSA ID" to begin the registration process. Avoid third-party sites or search results that may lead to unofficial portals.
Provide your legal name, date of birth, and Social Security Number. Ensure these details match your government-issued identification exactly. Any discrepancy can trigger additional verification steps that further delay activation. You will also create a username and a strong password.

Once submitted, you will receive an email confirmation. Follow the link in that email to finalize your account setup. If you are a U.S. citizen, you may need to answer security questions or use your driver’s license for identity verification. Keep your confirmation number safe.

If a parent is contributing to the FAFSA, they must create their own distinct FSA ID. They do not need to log in with the student’s credentials. Both the student and parent FSA IDs must be active before either party can sign the form.
Before you begin filling out the FAFSA form, ensure both FSA IDs are fully activated. You can check the status by attempting to log in or by looking for the "Active" status in your account dashboard.
Gather tax and asset documents
Before you start filling out the 2026 FAFSA, collect the specific records the form requires. Missing information is the most common reason applications stall or get returned. Having these documents open in a separate window or printed out lets you move through the form without stopping to search for files.
Identity and dependency status
You need a valid Social Security Number (SSN) or an Alien Registration Number if you are not a U.S. citizen. For parents or spouses whose information you must report, gather their SSNs as well. You also need to confirm your marital status and number of family members attending college at least half-time during the 2026–27 academic year.
Tax returns and W-2s
The FAFSA pulls data directly from the IRS using the Direct Data Exchange (DDX), but having your tax records handy is essential for verification or if the DDX fails. Gather your federal income tax returns (Form 1040) and W-2 forms for the 2024 tax year. If you did not file taxes, you must provide proof of non-filing or a statement of earned income. Keep business and farm schedules available if applicable.
Bank statements and investment records
You must report the current balance of cash, savings, and checking accounts. Gather recent bank statements for all accounts held by the student and parents. Include records for investments such as stocks, bonds, and mutual funds. Note that the family home equity and small businesses are generally not reported on the FAFSA, so you do not need current property appraisals or business valuation documents.
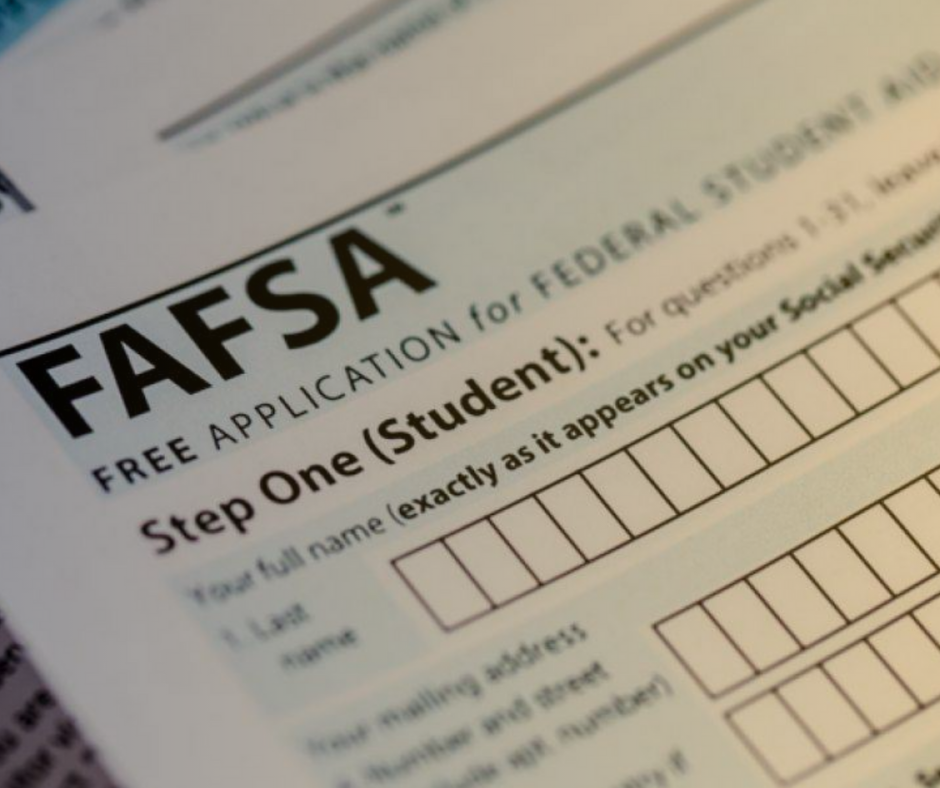
Fill out student personal details
This section establishes your baseline identity and legal standing. The FAFSA uses this information to determine who pays for your education and how much aid you qualify for. Start by entering your full legal name exactly as it appears on your government-issued ID. If your Social Security number is unavailable, you will need to create a FSA ID to proceed.
Answer the dependency: what to check next
The most critical part of this section is determining your dependency status. The FAFSA asks a series of questions about your marital status, financial independence, and family situation. Your answers here dictate whether you must provide your parents' financial information.
If you answer "yes" to any of the dependency questions, you are considered an independent student. You will only need to report your own (and your spouse's, if married) income and assets. If you answer "no" to all questions, you are a dependent student. This means you must gather your parents' tax returns, bank statements, and investment records to complete the form. The government defines "independent" strictly; being self-sufficient or living on your own does not automatically make you independent.
Confirm citizenship and eligibility
Next, confirm your citizenship status. U.S. citizens can proceed immediately. If you are not a U.S. citizen, you must be an eligible noncitizen, which includes permanent residents with a valid Alien Registration Card (Green Card).
If you are in the country on a visa or do not have permanent residency, you generally cannot fill out the FAFSA. In these cases, you may need to explore private student loans or institutional scholarships offered directly by your college. Accurate citizenship verification is required to access federal grants and subsidized loans.
Type your name exactly as it appears on your Social Security card or passport. This must match the name on your FSA ID account.

Respond to the questions about your age, marital status, and financial support. Your answers determine if you need parent data.

Select your citizenship category. Eligible noncitizens must have an Alien Registration Number ready to enter.
Enter financial aid information
This section is the core of your application. You will input data about your household’s income, assets, and household size. The goal is accuracy, which determines your Expected Family Contribution (EFC) and your eligibility for grants, work-study, and loans.
Use the IRS Data Retrieval Tool
The fastest way to enter financial data is through the IRS Data Retrieval Tool (DRT). This feature pulls your tax information directly from the IRS into the FAFSA form. It reduces manual entry errors and speeds up the processing of your application.
If you are eligible, select "Link to IRS" and follow the prompts to authenticate your identity. The system will automatically populate the income sections for you and your parents (if you are a dependent student). If the DRT is unavailable or you choose not to use it, you must manually type your adjusted gross income and taxes paid from your tax return.
Input household and asset details
After handling income, you will move to assets and household size. You need to list bank balances, investments, and business values for the student and parents. Be precise with numbers, as small discrepancies can trigger verification requests later.
You will also list the number of people in your household and how many are in college. This data helps federal formulas calculate your aid eligibility. Double-check these figures before moving to the next section to avoid delays in your financial aid package.
Select the option to link your IRS tax return data. Authenticate using your FSA ID and follow the on-screen prompts to transfer income information directly into the form. This step significantly reduces manual typing and potential errors.
Input the total number of people in your household and how many will attend college full-time during the upcoming academic year. This data is critical for calculating your aid eligibility based on household needs.
Enter current balances for cash, savings, checking, and investments. Include business and farm values if applicable. Ensure all numbers match your most recent financial statements or tax returns to avoid verification issues.
List schools and sign the form
The final step in completing your FAFSA® is telling the Department of Education where to send your data and officially submitting the application. This involves two distinct actions: selecting your colleges and providing the required electronic signatures.
Select up to 20 colleges
You can list as many as 20 schools on your FAFSA® form. When you enter a school’s name or its 10-digit federal school code, the system automatically populates the school’s details. You do not need to rank them; FAFSA® sends your information to every school you list equally. If you are unsure of a school’s code, you can find it on the Federal Student Aid website.
Sign and submit
Once all sections are complete, you must sign the form to validate it. The student must sign using their FSA ID. If the student is considered dependent, one parent must also sign using their own FSA ID. After signing, review the Summary Page one last time to ensure all data is accurate, then click the Submit button. You will receive a confirmation email shortly after.
Review your Student Aid Index
Once you submit the FAFSA, the Department of Education calculates your Student Aid Index, or SAI. This number replaced the Expected Family Contribution (EFC) starting with the 2024–25 form. The SAI tells colleges how much financial support you and your family can reasonably provide for one year of college costs.
The SAI ranges from a minimum of -1500 to a maximum of 99,999. A lower SAI indicates greater financial need. If your SAI is negative, it signals that your family’s financial situation is significantly limited. This triggers higher eligibility for federal grants like the Pell Grant, which does not need to be repaid.
The SAI directly determines your eligibility for federal student loans and grants. Colleges use it alongside your cost of attendance to build your financial aid package. A lower SAI generally means you will qualify for more need-based aid. It is the primary metric used to assess your financial standing for federal aid purposes.
You can find your SAI on your Student Aid Report (SAR). Review this number carefully to understand your aid eligibility. If you believe the calculation is incorrect, you can contact the financial aid office at the colleges you are attending. They can help explain how your SAI affects your specific aid offer.
Navigate new repayment plans
The 2026–27 FAFSA isn’t just a one-time application; it’s the foundation for how you’ll repay student loans for the next decade. The federal government has overhauled its income-driven repayment (IDR) plans to make monthly payments more predictable and tied directly to your actual take-home pay rather than your gross income.
How FAFSA data shapes your future payments
Your FAFSA submission determines your Expected Family Contribution (EFC), now called the Student Aid Index (SAI). This number travels with you through college and into repayment. When you eventually qualify for IDR plans, the SAI helps determine your baseline eligibility, but your actual monthly payment is calculated using your current annual income and family size.
The new plans cap monthly payments at 10% of your discretionary income for borrowers with balances under $12,000, and scale up slightly for larger balances. Crucially, interest subsidies now prevent unpaid interest from ballooning your balance if you make your required monthly payment, even if it doesn’t cover the full accrual.
Using the right calculator
Before you sign any loan documents, use the Department of Education’s Repayment Estimator to see how your projected income aligns with the new IDR caps. This tool uses the same logic that servicers will use when your grace period ends.
Check your FAFSA status and fix errors
Before the deadline, you need to verify that the Department of Education received your submission and that the data is accurate. Once you log in with your FSA ID at StudentAid.gov, the system displays your FAFSA submission status. Look for the "Status" column on the dashboard; a green checkmark or "Received" label means the form has passed initial validation.
If the status shows "Corrected" or "Rejected," you must address the flagged issues immediately. Common errors include mismatched Social Security numbers, missing signatures, or inconsistent income data. Do not ignore these flags, as they prevent your financial aid offer from being processed.
To fix a rejected form, click the "Correct" button next to the submission. This opens the form in edit mode, allowing you to change specific sections without starting over. After making changes, resubmit the form. It typically takes three to five business days for the system to re-process and update your status.
Access your account using your FSA ID. Navigate to the "My FAFSA" dashboard to view your current submission status and any pending actions.
Check the "Status" column. If you see "Processed" or "Received," your form is valid. If it says "Corrected" or "Rejected," click "View Details" to see exactly what needs fixing.
Click "Correct" to edit the form. Fix only the flagged sections, then click "Submit" to resubmit. Wait 3-5 business days for the status to update again.
No comments yet. Be the first to share your thoughts!